
Complete Guide to Install Windows 11 on External SSD or USB Storage
Table of Contents
It’s been a while since Windows 11, the most productive and creative Windows yet, has been released. It has gone through several major updates and now we can finally say it settled down beautifully. So, you can easily carry it around in your pocket by installing it on an external device like an SSD or USB stick.
Table of Contents
However, the process might prove to be a bit of an issue if you don’t follow the right procedure. After reading this blog, you won’t have any queries left about installing Windows 11 on your external storage. Let’s get started!
Does Windows 11 Support Matter for Installing on External SSD or Storage?
No, even if your PC does not meet the minimum requirements for Windows 11, you can still install it on external storage using your PC. All you need is an SSD or USB storage with more than 8 GB storage and the official Windows 11 media file to boot it from your external device. So, let’s check out how you can do that!
Recommended Requirements to Install Windows 11 on External Devices
These are not necessary requirements but some good recommendations that will help you later on if you encounter any problems installing the OS:
- A dual-core CPU with more than 4 GB RAM.
- A USB Type-C port on your computer.
Installing Windows 11 on External SSD or USB Storage
Here’s the full process of Installing Windows 11 on External SSD from top to bottom-
Step 1: Go to the official website of Microsoft and download Windows 11 on your PC. Be careful to choose the Create Windows 11 Installation Media option.

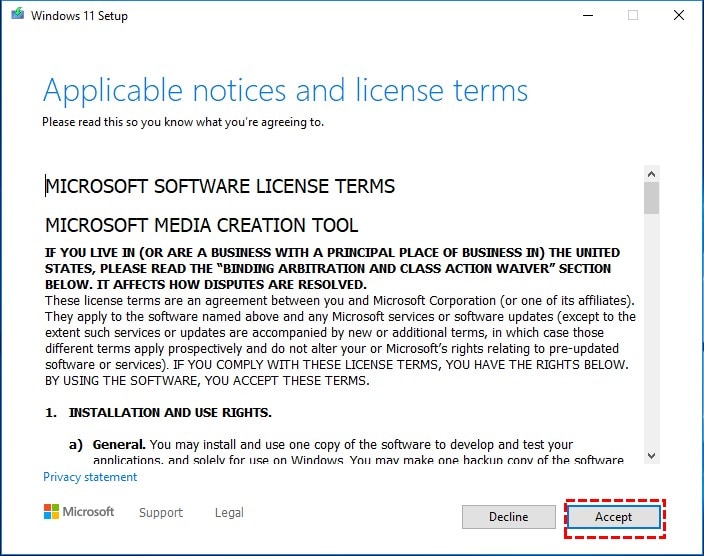
Step 2: Once the file is downloaded, open the installation package and Accept the license terms.
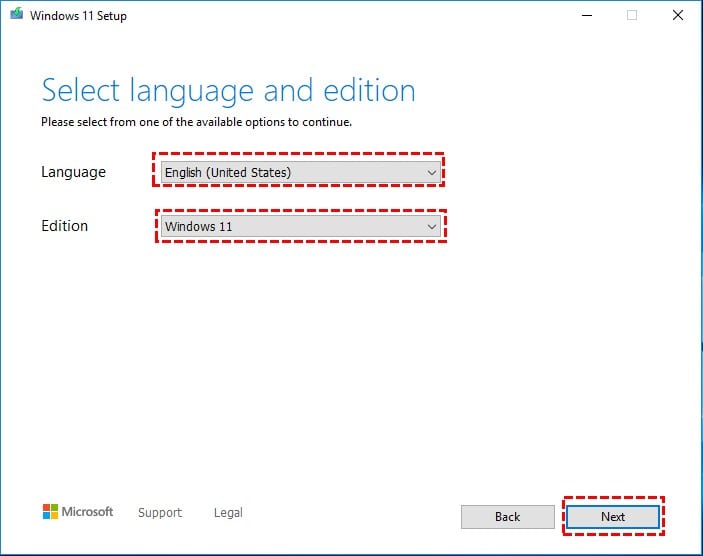
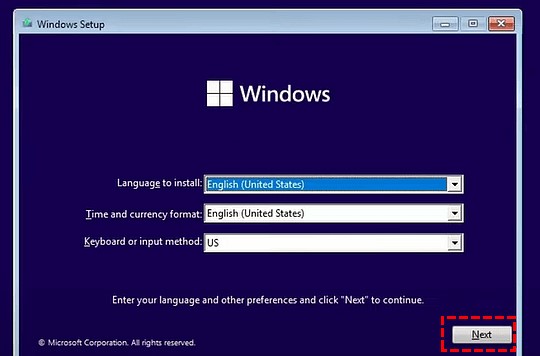
Step 3: Choose your preferred language and Windows 11 edition and press Next.
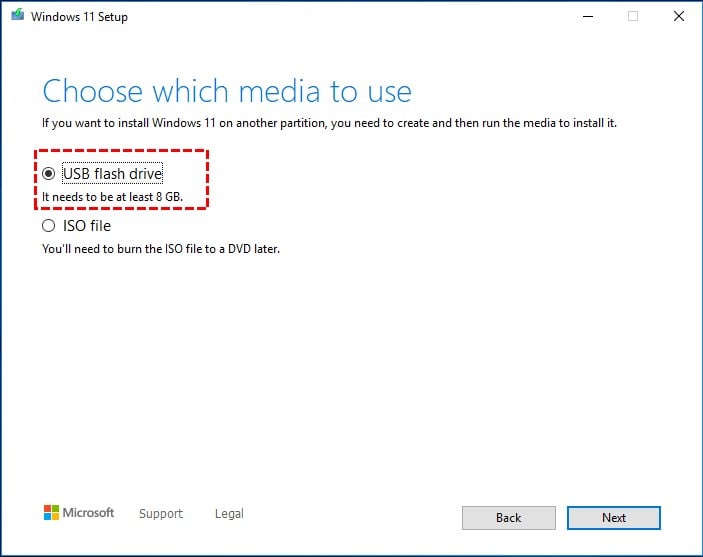
Step 4: Make sure your external storage device is plugged in and choose the USB flash drive option from the window. Press Next.
Step 5: Now, you need to go to your motherboard BIOS settings after restart and choose the media file as the boot drive.
Step 6: In the next windows, choose your preference and hit next.
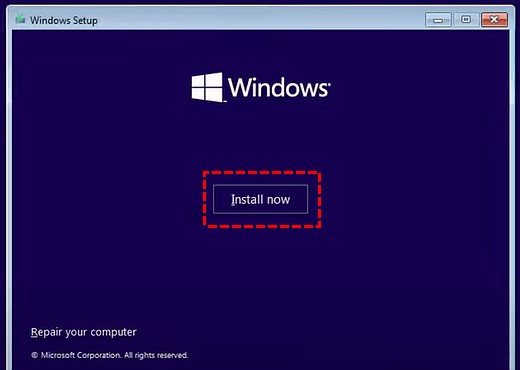
Step 7: Click the Install Now button.
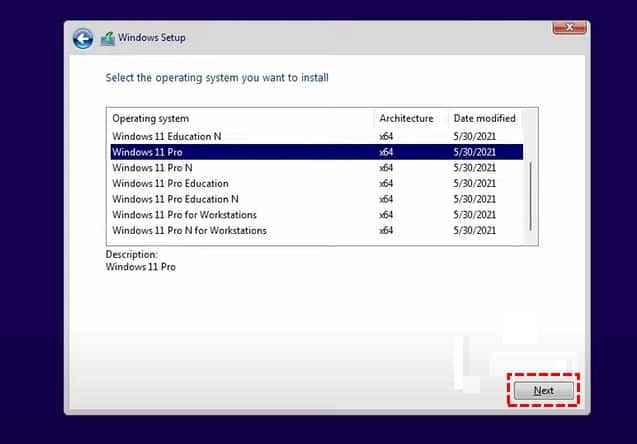
Step 8: As you don’t have any product key, choose the “I don’t have a product key” option and choose your preferred Windows 11 version.
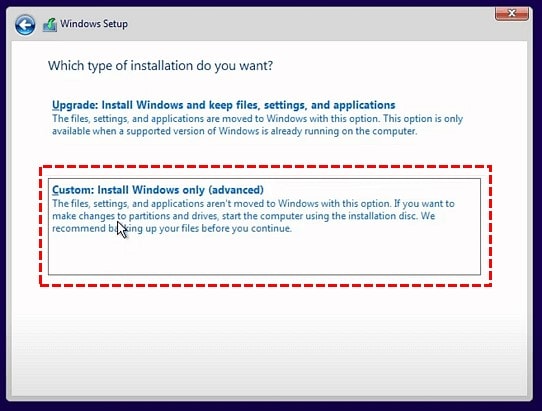
Step 9: Agree to the license terms again and choose the custom install option.
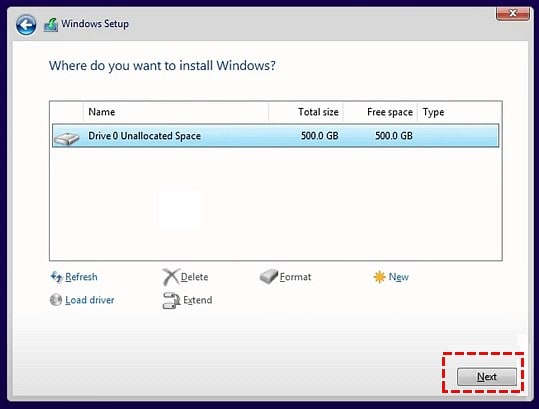
Step 10: Select your external drive from the window and press next.
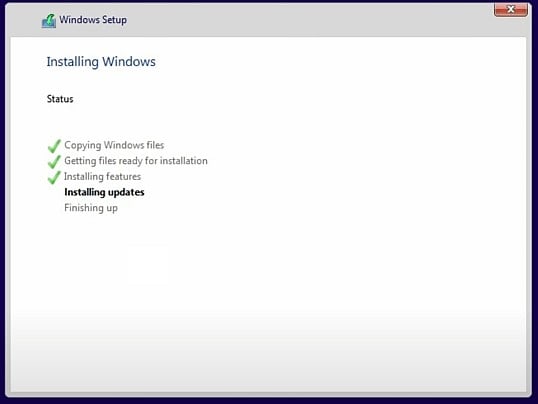
Step 11: Wait for the installation to finish and reboot your drive with a fresh version of Windows 11!
Pros of Installing Windows 11 on External SSD
- Portable design and easy plug & play setup
- Best for developers and beta testers
- Dual OS booting support
Cons of Installing Windows 11 on External SSD
- Not as reliable and smooth as installing on an internal SSD
- The speed of the OS might not be as efficient as regular one
Final Words
Now you are fully aware of how to perform the whole installation process and carry it around with you all the time. So, from now on, whenever you need it, you will always have the latest version of Windows 11 on you without any baggage!